Friday, March 27, 2009

Panorama: Diamond Head Crater and Honolulu

Here's a pano I took on Tuesday of Honolulu and Diamond Head Crater from the National Memorial Cemetery of the Pacific (also known as the Punchbowl National Cemetery) named for the crater the cemetery was built in - Punchbowl Crater.


Click the picture or here to see a larger version


Yes I know I promised more pictures and to finish blogging about the hike, I will, just wanted to post the pano.

Thanks,
Aaron

Tuesday, March 24, 2009

Hiking to the summit of Koko Crater - Part 1

So today (Tuesday March 24th) being the last day of my three day weekend, and me amounting to being a total lazy bum on my first two days off (besides shipping a package, and getting my haircut on Monday) I decided I must find something to do that is: 1) fun, 2) active, 3) something I can take pictures of.

So I pull out my handy dandy notebook, err Hawaii Military Guide book that I got back at replacement, and started flipping through the Top 25 places to see on Oahu.

#1 Aloha Tower - ehh, going to a building didn't meet being "active"
#2 Kakaako Waterfront Park - same as above
#3 Waikiki, The Miracle Mile - ditto
#4 Diamond Head Crater - active yes, but already did it...
$5 Koko Crater - "... a prominent 1,205-foot-high... 1,106 wooden steps..."

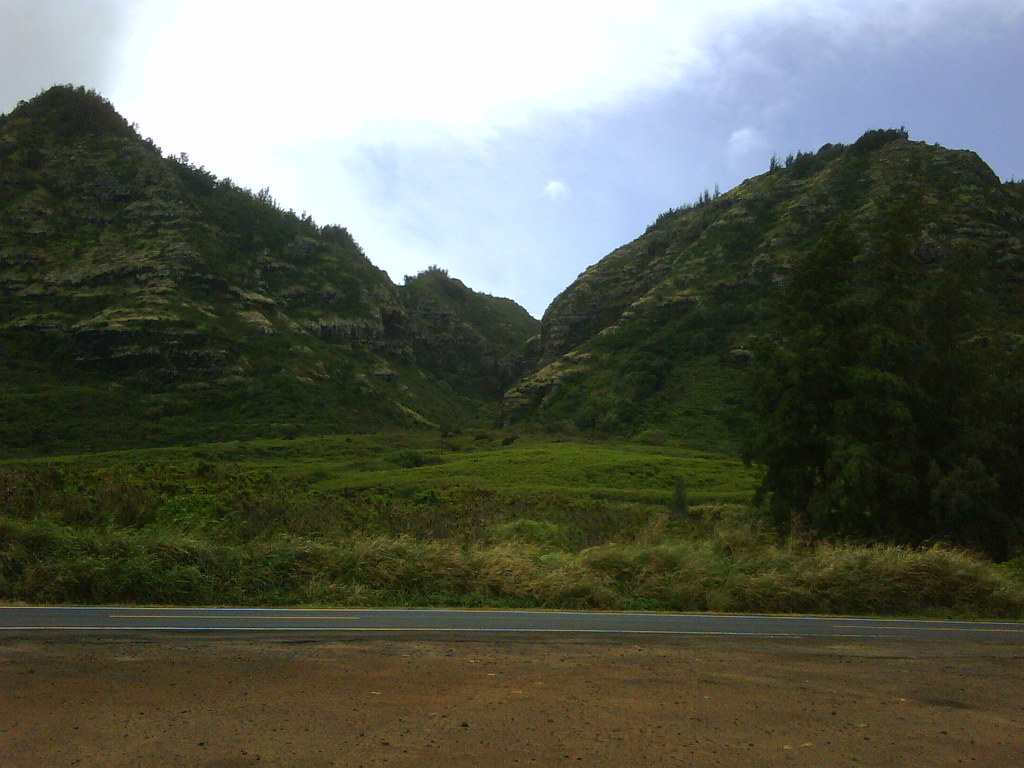
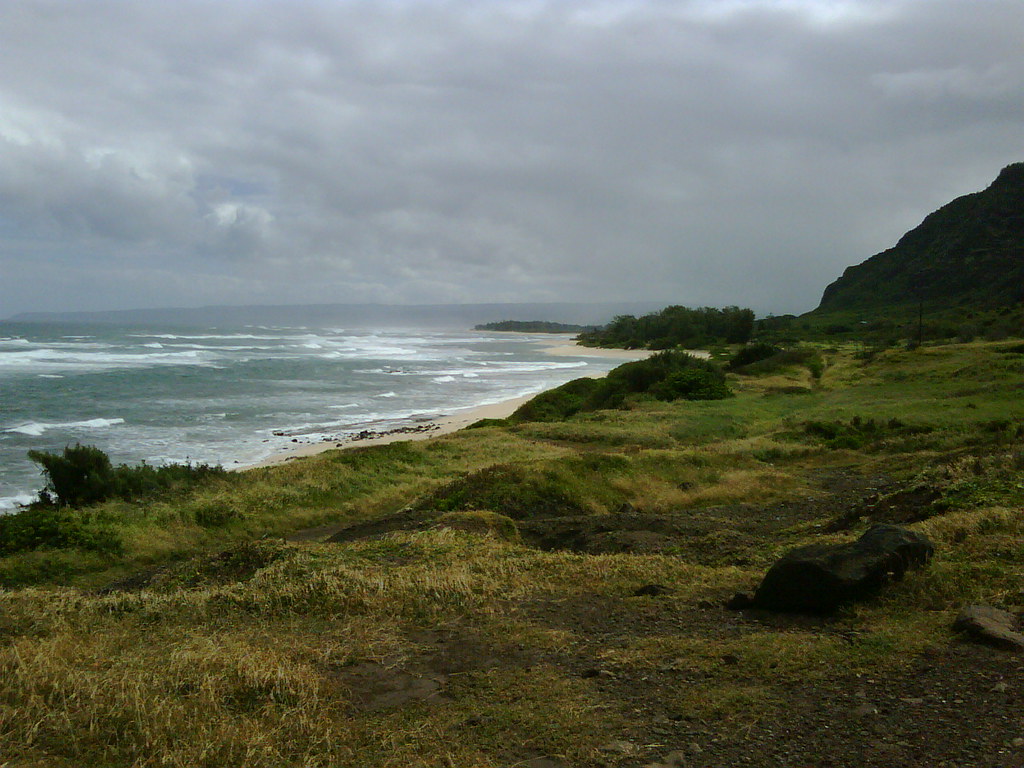
Sounds like I have a winner. Turns out I'd driven past it on my last "weekend" off and I remember making a mental note to climb it. Perfect, so I leave Schofield about 11:00am or so, drive past Honolulu, grab some lunch, and go to the scenic overlook where I knew I could get a good shot of my objective.


After getting the mandatory scene setting picture, I head to Base Camp, err the parking lot where I'll start this hike. Got all my camera gear out, and thought hey, what a perfect time to try out my new camera backpack, see how it holds up during hiking. That way I wont get to the summit and think, dang I should have brought my tripod, other lens, etc. So I load it all up, grab the camera so I can take pictures along the way up, load the camelback and started my ascent.

I get to the start of the trail and snap these quick picture off...


Damn that looks pretty steep, I could use a good challenge. People said Diamond Head was a tough hike, and I summited while taking pictures, with a tripod on my back in 18 minutes. My guidebook said this trail is "medium" danger and "intermediate" skill according to expert hikers. I'm in good shape, no problem... right?

Here's some shots from my many break on the way up. Maybe that backpack with 40lbs of gear wasn't such a good idea, add on the camelback full of 100oz of water. Where's my Sherpa and my O2 when I need it?

This hike is no joke, and that could be the 40lb backpack on my back talking, but there were many times I was very winded, never light-headed, but definitely out of breath more times than I cared for.


So I start to catch my breath quicker, get a little pace going, when I notice I'm not doing to bad. I look up to see this...


After it got steeper, I come across this section where the railroad tie steps are spanning a 15-20 foot drop. I'm already winded pretty hardcore, now I have to balance my way across a bridge while being top heavy? Eff that, I'm crab walking across the bridge. Believe me, my dignity was already gone after all the breaks I'd taken, rather be smart and not dehydrated and not having an injury than try to look macho.

You can see the spanning section


A view looking down once past the dangerous 'bridge' section


After the bridge things started getting really steep, but atleast I could see the end in sight. Plus I noticed the railroad ties were marked every hundred, so you had an idea of how many you had left, a curse and a blessing lol.

It's gets steeper, and a lot steeper real quick, great...


A look down


800+ feet up


Each step brings me a little bit closer, until the end of the stairs is finally within reach.


I felt like Gold Five and Red Leader in Star Wars - A New Hope, because I kept telling myself over and over "Almost there..." Like who was I trying to convince, one I wasn't saying anything out loud, nor was anyone around me in case I why *shrug*


That first section up looks almost flat from way up here, gotta love perspective


I can almost touch the top


Now I can, thank goodness the pain ends soon, and yes it was pretty painful at this point. Next time, no backpack and no tripod.


Maybe I could summit in some time more respectable that over an hour.


Plus to rub it in, there's people running, yes running up and down this trail *scoff* Good for them they're in awesome shape, but the evil side of me really wanted to see someone biff (going up, I wouldn't wish anyone biffing on the way down, that would get messy). I'm vindictive, but not a sociopath ;)

A look down from the top of the stairs


Still a little bit to climb to summit, but thank goodness no more stairs


And this ends part #1 of however many parts it takes, because it's 11:35pm and I have to be up at 4:30-4:45am.

1060 railroad ties I'm assuming, or steps, I dunno, whatever 1060 represents it's a lot, and I definitely felt it, and probably will for the next couple of days.


Final altitude for Part 1: 1138 feet (bonus points for those who can recite a Star Wars quote with 1138 in it).


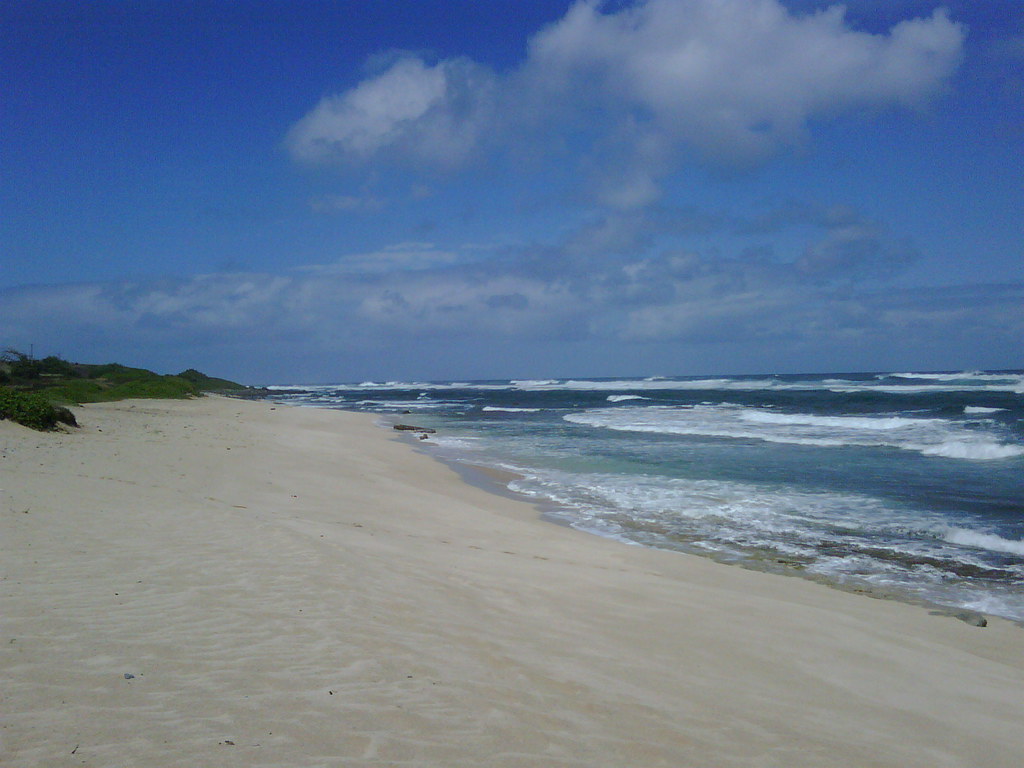
Gross look at all the sweat, on my arm. Imagine how my back felt with that ginormous backpack. Granted the backpack was great, holding it in my arm felt 2-3x times heavier than wearing it. And did I say I'm in love with my new lens? It's the same one I shot the Waikiki beach shots with, it's awesome, and this is coming from someone who's very critical on camera equipment.

Well I hope you enjoyed this first part and I should be able to finish and add more pictures probably on Wednesday. Thanks for reading!

Aaron

Sunday, March 22, 2009

Panorama - Many Parks Curve (RMNP from October 2004)

Feeling kinda lazy today on my first of three days off (hopefully), so I was browsing through old (as in 4-5 years old) photos I took and found this Pano which I hadn't assembled. This panorama was photographed at Many Parks Curve on Trail Ridge Road in Rocky Mountain National Park, Colorado. I photograpghed this panorama in my visit to RMNP in October of 2004 with my buddy Brent DeShazer.


Click on the image or click here to view this image and others panos I have photographed


11 shot panoramic composition stitched in Adobe PS CS3.

1D EF 70-200 f/2.8L USM (non-IS)
Shot @ 200mm ISO 200 f/8 1/500s

RAW conversion done in PS CS3

This PS file is 62.5MB and a resolution of 11278 x 2224 or 47" x 9.3" at 240dpi

Thanks,
Aaron

Friday, March 20, 2009

Panos of Waikiki

Here's two panos I took last night from Waikiki. I'm very excited about them, I think I may need to crop a little off the left side on #1, still deciding. I just got my EF-S 17-55 f/2.8 IS USM in yesterday afternoon. Got a chance to go out in the late evening and take these pictures. I got totally soaked shooting #1 since there's nothing slowing the incoming waves down. After seeing the results, it was well worth it :D

#1

Click here to view the image

This shot of downtown Waikiki was taken from a walkway that leads out into the water about 100 feet from the beach. It's located in the area of the intersection of Kapahulu Ave & Kalakaua Ave. This shot is a tribute to one I purchased back in 2004 from Steven Noyes. Click here to view Steven's picture. I purchased a copy back in 2004 and have it framed in my kitchen. Click here to view more of Steven's awesome work!

10 shot panoramic composition stitched in Adobe PS CS3.

40D EF-S 17-55 f/2.8 IS USM
Shot @ 35mm ISO 100 f/8 30s

RAW conversion done in PS CS3

This PS file is 121.1MB and a resolution of 11568 x 3658 or 48.2" x 15.2" at 240dpi

#2

Click here to view the image

This shot of downtown Waikiki was taken from the beach near the walkway in the previous shot. It's located in the area of the intersection of Kapahulu Ave & Kalakaua Ave. This shot is a tribute to one I purchased back in 2004 from Steven Noyes. Click here to view Steven's picture. I purchased a copy back in 2004 and have it framed in my kitchen. Click here to view more of Steven's awesome work!


9 shot panoramic composition stitched in Adobe PS CS3.

40D EF-S 17-55 f/2.8 IS USM
Shot @ 38mm ISO 100 f/8 30s

RAW conversion done in PS CS3

This PS file is 103.9MB and a resolution of 10886 x 3337 or 45.4" x 13.9" at 240dpi.

--

Any feedback, critiques, comments are welcome, thanks for taking a look.

Mahalo,
Aaron

Wednesday, March 11, 2009

Panorama - Two Islands


Click the picture to be brought to my Panorama Gallery on my Photography website Photography by Aaron P. Brown

18 shot panoramic composition stitched in Adobe PS CS3.

40D EF 28-135mm f/3.5-5.6 IS USM
Shot @ 135mm ISO 100 f/8 1/320s

RAW conversion done in PS CS3

This PS file is 160MB and a resolution of 15095 x 3704 or 62.9" x 15.4" at 240dpi

Tuesday, March 10, 2009

Picture - Two Islands


Click the picture to be brought to my Hawaii Gallery on my Photography website Photography by Aaron P. Brown

This shot was taken just off of Kalanianaole Hwy (Hwy 72) in Makapuu Beach Park. The two islands I can't find the names of. I'm working on assembling a Panorama I took of these islands. It's giving me a little more difficulty than normal...

Thanks,
Aaron

Panorama - Kahana Bay


Click the picture to be brought to my Panorama Gallery on my Photography website Photography by Aaron P. Brown

Shot from the west side of Kahana Bay looking to the south east. Kahana Bay is located just north of Kaneohe Bay on the east side of the island of Oahu.

16 shot panoramic composition stitched in Adobe PS CS3.

40D EF 28-135mm f/3.5-5.6 IS USM
Shot @ 28mm ISO 100 f/8 1/320s

RAW conversion done in PS CS3

This PS file is 109.6MB and a resolution of 11084 x 3457 or 46.2" x 14.4" at 240dpi

LOST - Mackey's Shrimp Truck (spot)

So we had nice weather (ie not cloudy) for the first time in a week, and it was my day off too, so I decided to get out and shoot some pictures. My first stop was a LOST site, where the scene where Sawyer confronts and kills Macky in Season 1 of LOST. Second goal was to eat a meal from Fumi, Macky's competition. The spot where the scene was filmed was owned by Fumi, and LOST brought in Macky's truck to shoot. So darn I have to go find Macky's truck (I found it it's located in Haleiwa, just didn't get a chance to stop and photograph it) and have a meal there.


Those are actually the same spot, the 2nd is just a crop. I snapped those real quick as I pulled out of the parking lot after finishing the meal.


For lunch, I had the Garlic Butter Shrimp (#2), their most popular meal. Next time I'm up there I'll have to try the Spicy Shrimp, their next most popular meal. The food was really good, I think I got 10 or so jumbo shrimps, 2 clumps of rice, a salad, and a big chunk of fresh pineapple (the pineapple was very yummy). I was impressed by their food. First time I've eaten at a shrimp truck. For those curious it was $12 for the meal, and $1 for a can of Pepsi. Not too bad for seafood on the island, for reference a value meal at BK or Jack in the Box costs $7.

Next time I'll get some pictures of Mackey's truck and have a meal to complete this...

Laters,
Aaron

LOST - Plane crash site on beach...


Click the image or here to view my Pano gallery


UPDATE - So instead of having a whole blog dedicated just to LOST filming spot finds, I'm redoing my whole blog to be focused on my Photography in general, and I moved the post from my LOST blog to be the first post on this blog...

Holy crap it's been a long time since I blogged, and not like the few month break most people take, I'm talking like YEARS. So much of a break that I'm starting over on this blog, just with the intent of posting images I've taken across Hawaii!

Ever since coming to Hawaii, I was excited and interested in finding filming spots from LOST, and visited a couple of websites here and there. Then kind of put it on the back burner. So late last week I go out driving to this place I saw on the map and figured it would be pretty cool to go check out. I'm pulling up to the beach, and I get this surreal feeling like I've been here before. And it wasn't one of those oh, I've seen this place once or twice, it was like I know this place. I didn't have my camera with me, so I took a couple of quick snapshots with my BlackBerry, upload them, and start seeing the similarities to the beach from LOST.

I upload the pictures and my wife is immediately like, dude that's the beach from LOST. I was like no, it might look a lot like it, but it's not the beach. But I started doubting that more and more, so I pull back that website again and voila, my beach I randomly drove out to, is indeed the site where they filmed LOST.

The place, for those curious, is Ka'ena Point or Army Beach (wiki) Google Maps

Here's some pictures I took (hosted on my Flickr site)

At first I thought this was the tree where we see Jack's Father, but it turns out that tree was burned down :(


From my first visit with my camera phone (I know not bad for a camera phone)


Screen captures from LOST and LOST Virtual Tour


So this was my first location scouting if you will, I plan to find more spots and get better shots of the beach too.

Aaron